Home / Plantable Paper / Plant & grow
PRINTED FIRST. PLANTED AFTER USE.
And then,
let it grow.
The printed piece has done its job.
Give the seed-bearing paper its next chapter.
A familiar edible plant, with a place in a sunny kitchen garden. Follow the instructions supplied with your tomato paper.
GIVE IT THE RIGHT START
01 Separate
Keep the seed-bearing paper. Remove clips, strings, stands and other parts.
02 Prepare
Moisten or tear the paper as directed in the instructions supplied with it.
03 Plant
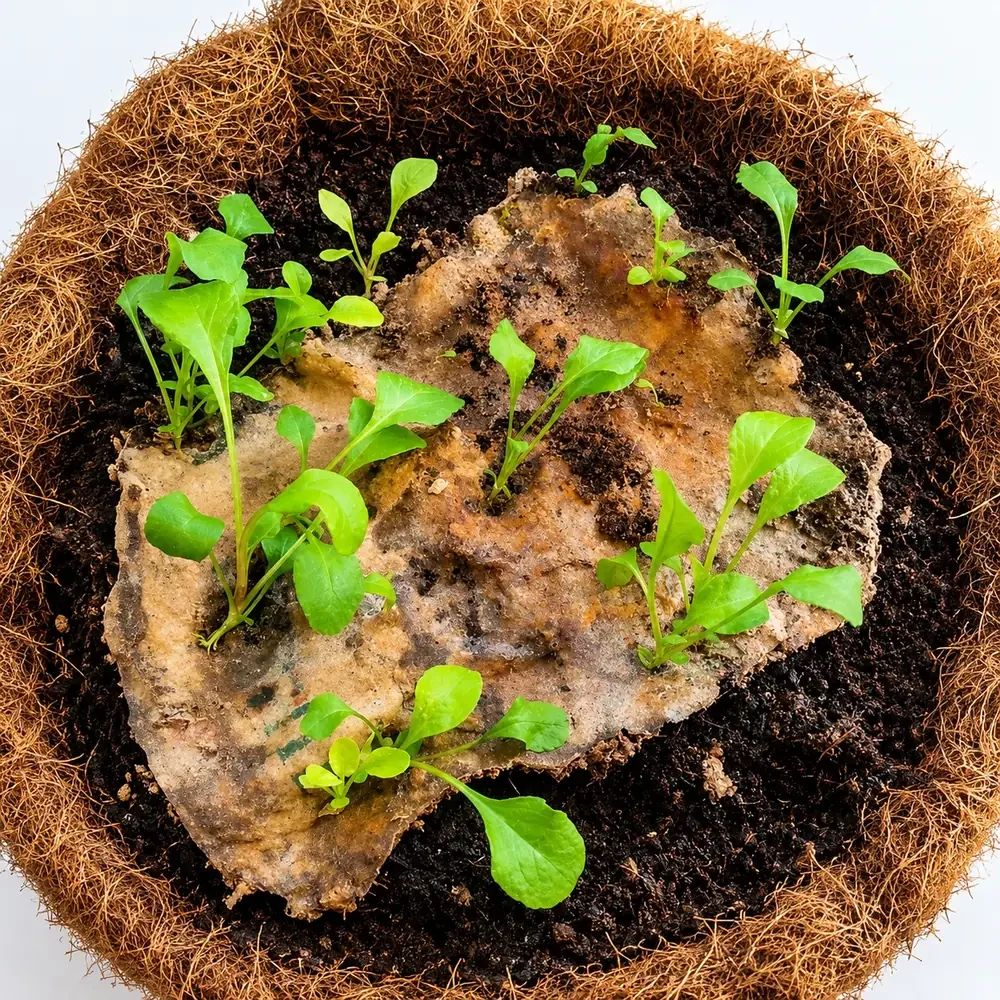
Place it in suitable moist soil. Follow the planting depth for your chosen seed.
04 Water & care
Keep it moist, without waterlogging, and give it suitable light and warmth.
These photographs show seed paper at different stages. Growth varies with the seed, soil, water and growing conditions.
A little care.
A better start.
What exactly goes into the soil?
The seed-bearing paper. Remove straps, clips, stands, strings and other components first. A notepad may have a seed-paper cover and ordinary inner pages; plant only the named component.
How deep should I plant it?
Use the planting depth supplied for the chosen seed and product. Preparation, depth and suitable conditions vary, so we do not give one universal number.
How long will it take to grow?
Germination depends on seed variety and condition, storage, soil, moisture, light and climate. Follow your supplied instructions and keep caring for the paper.
Can I keep the paper before planting?
Store it as directed and follow the viability guidance supplied with your order. Avoid assuming that all seed-paper formats have the same shelf life.
Start with the brief.
How many, by when, the budget per gift. We reply on WhatsApp within a day, with a shortlist and rates before GST.